Proper control panel labeling is one of the most critical elements of any industrial automation project. Well-labeled wires, devices, buttons, and indicator lights save hours during commissioning, maintenance, and future system modifications. In this guide, we walk you through the entire process of designing and ordering professional markers — without owning a label printer — using the Partex Mark Online tool.
Why Is Control Panel Labeling So Important?
Every electrician and automation engineer knows that correct control panel labeling is the foundation of professional work. Clearly marked wires, circuit breakers, contactors, buttons, and indicator lights allow for quick identification of individual circuits during commissioning, servicing, or expanding an installation.
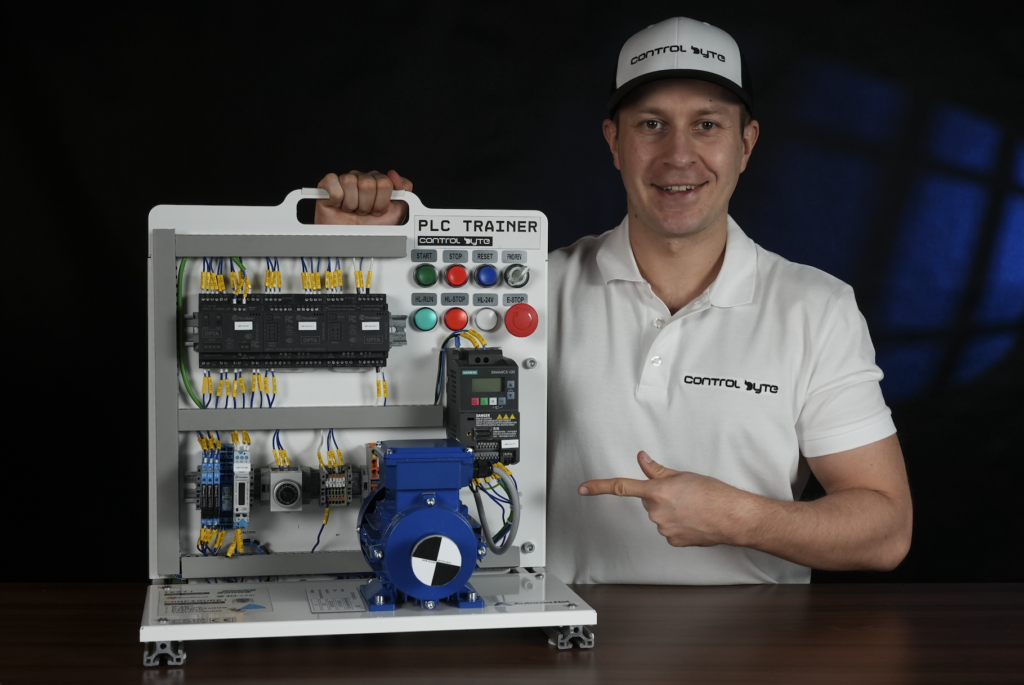
Without legible labels, even a simple maintenance task can turn into hours of tracing the right cable. The problem becomes particularly acute when you don’t have your own label printer, or when existing markers have worn out — smudged, peeled off, or simply become unreadable. This was exactly the challenge we faced at ControlByte while labeling an educational training station for PLC programming.
Partex Mark Online — Designing Labels Without a Printer
The solution we chose is Mark Online from Partex. It is a web-based application — no software installation is needed. Simply open your browser, go to partex.pl, and click the Mark Online option.
Within this tool, you can design virtually everything an electrician or automation engineer needs for control panel labeling: wire markers for both power and control cables, nameplates, push-button and indicator light labels, as well as self-adhesive stickers for devices like variable frequency drives (VFDs) and PLCs.
The best part — you don’t need to own a printer. After you finish your design, you simply place an order, and Partex prints everything on their professional equipment and ships it to you via courier or parcel locker.
Step-by-Step Guide to Control Panel Labeling
Wire Markers for Power Cables
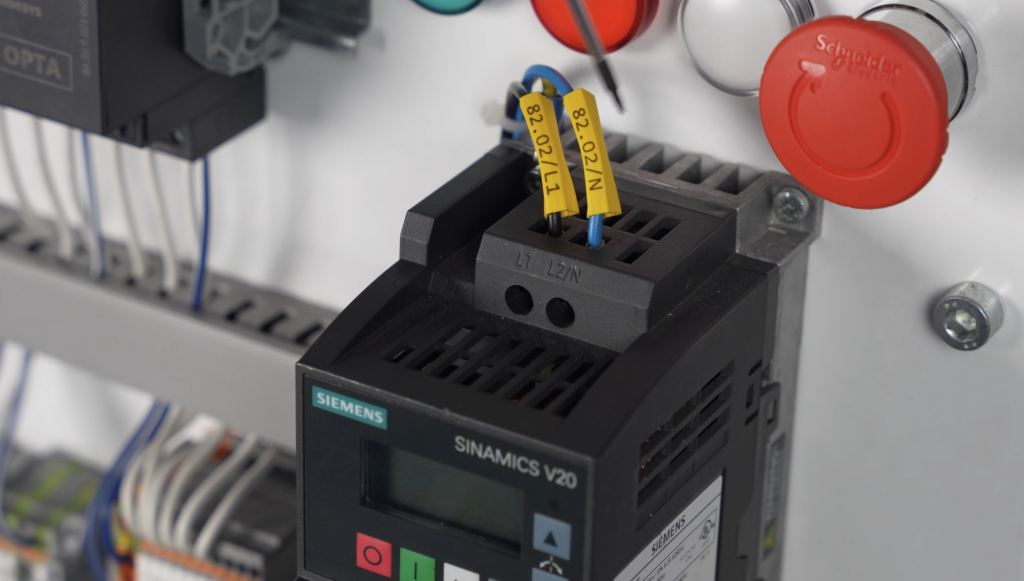
In Mark Online, start by selecting the marker type. For phase power cables, choose the PA+10 marker, which fits wires with a diameter of 2.5 to 5 mm. Based on your electrical schematic, enter the appropriate designation — for example, 82.02/L1 for a phase conductor to a Siemens VFD, or 82.02/N for the neutral wire.
The tool allows quick duplication of labels — simply click “copy selection” and “paste selection,” then change only the suffix. This way, you can create markers for multiple wires in just a few seconds.
Wire Markers for Control Cables
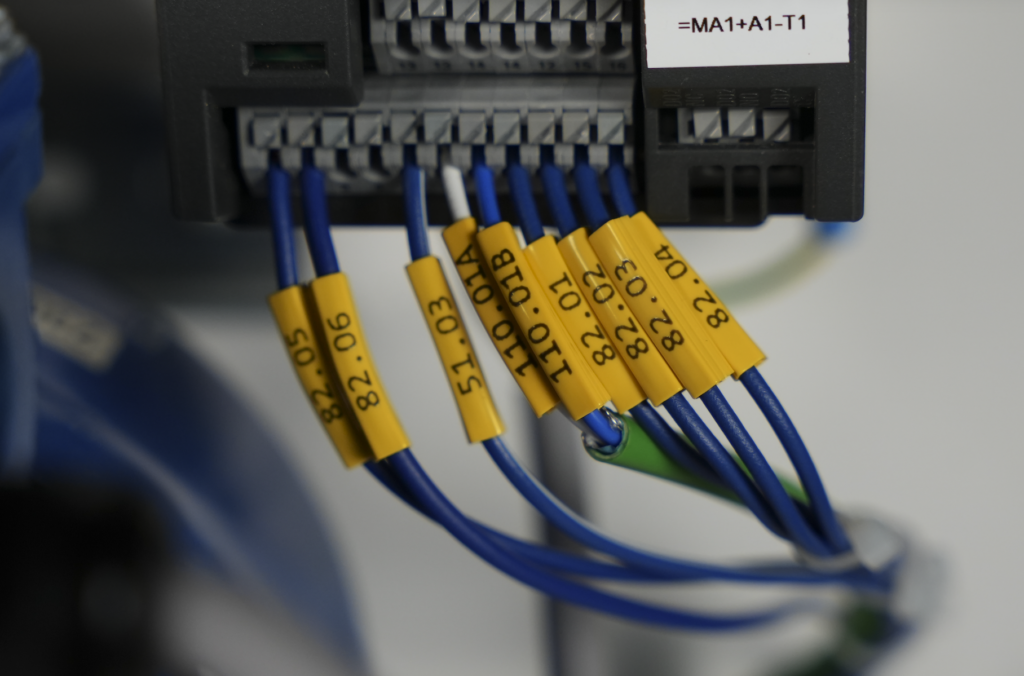
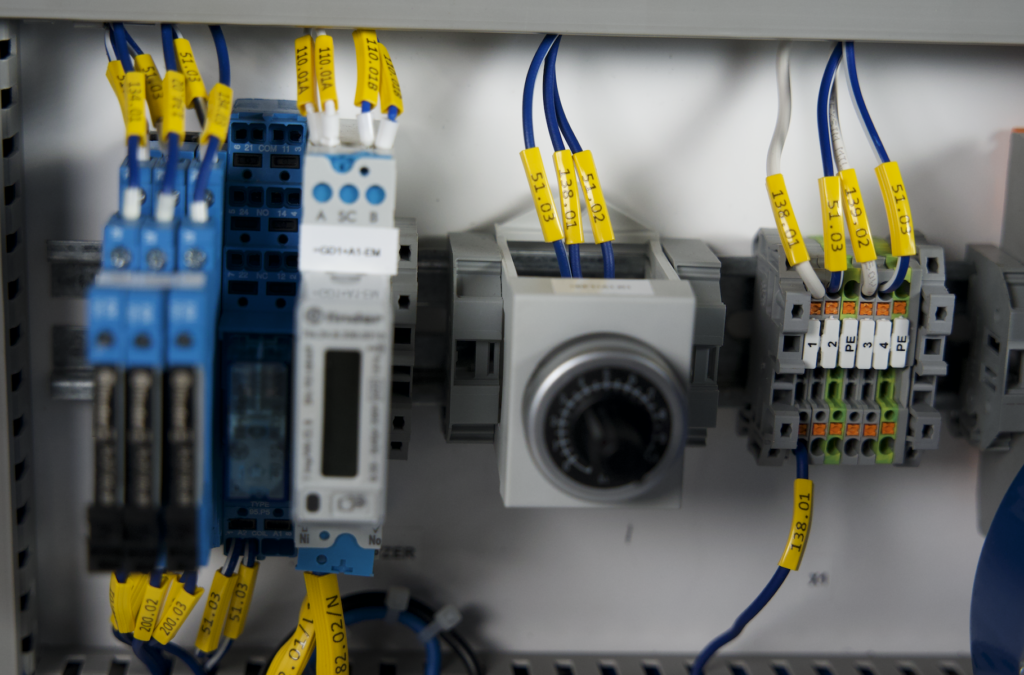
For thinner control wires, select a smaller marker such as PA+02. These markers are typically used when connecting PLC digital inputs and outputs. On the schematic, find the signal designations — for example, 130.01 for a digital input or 82.07 for a VFD feedback signal.
Importing Labels from a File or Clipboard
For larger projects, manually entering each label would be extremely time-consuming. That’s why Mark Online includes a data import feature — from either a clipboard or a file. Simply prepare a table with your designations, copy it, and paste it into the tool. Then select the material type (e.g., PA+02 or PA+10), define the parameters, and click “apply.” All markers appear instantly in your project.
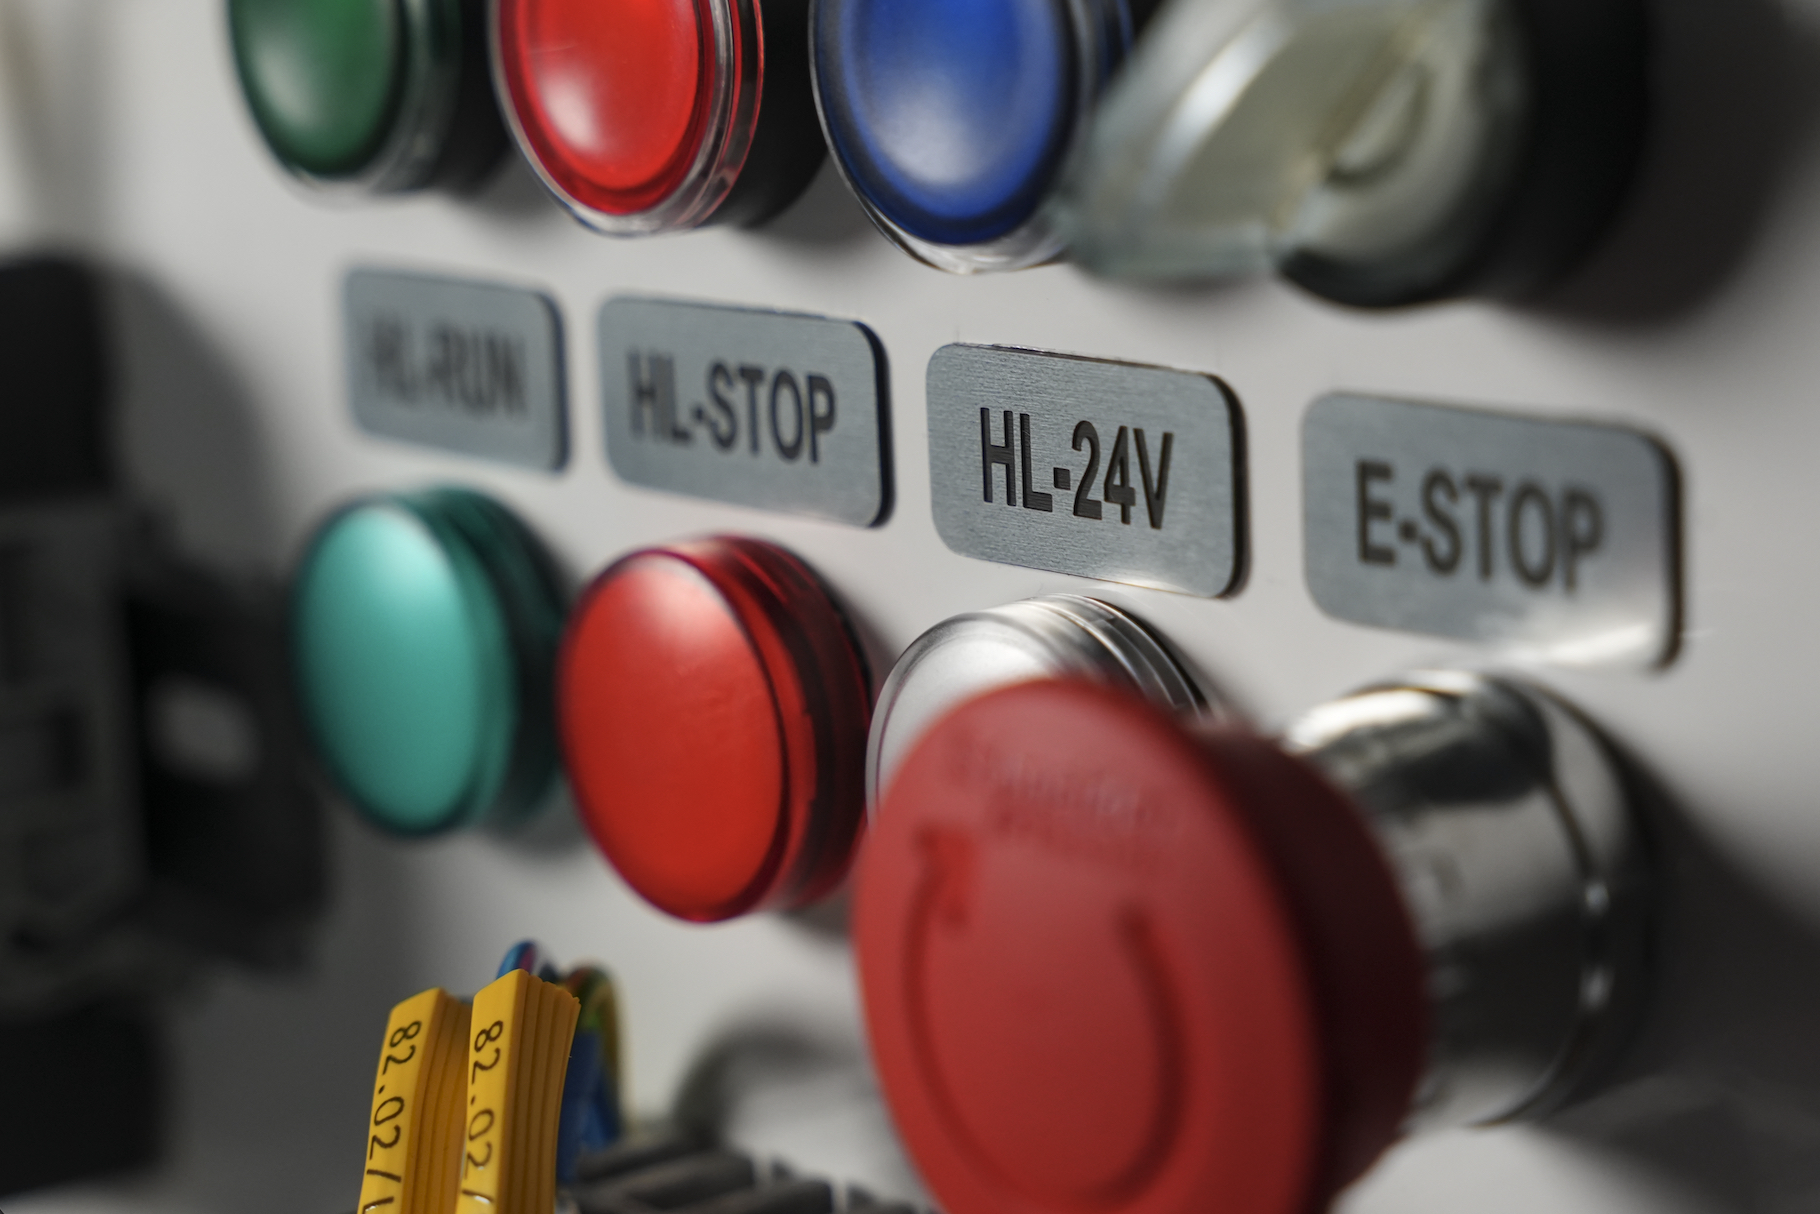
Labels for Push Buttons and Indicator Lights
The next element is labeling push buttons and indicator lights. In Mark Online, click “add label” and choose the “from template” option. Various templates are available — warning labels, photovoltaic system labels, and many more. For buttons and lights, select the descriptive plaques with rounded frames. These are laminated PGL metallic tags, perfect for control buttons.
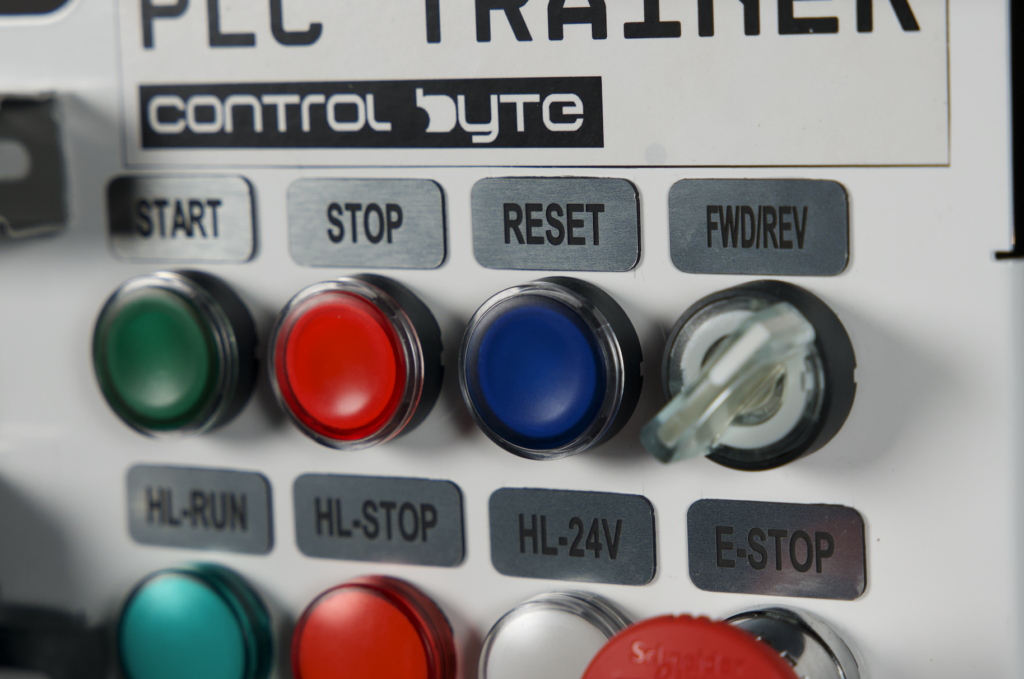
Enter text such as “PB START” for a start button or “HL RUN” for a running indicator light. The tool lets you customize both the width and height of the tag — either manually or using the auto-fit option.
Self-Adhesive Stickers for Devices
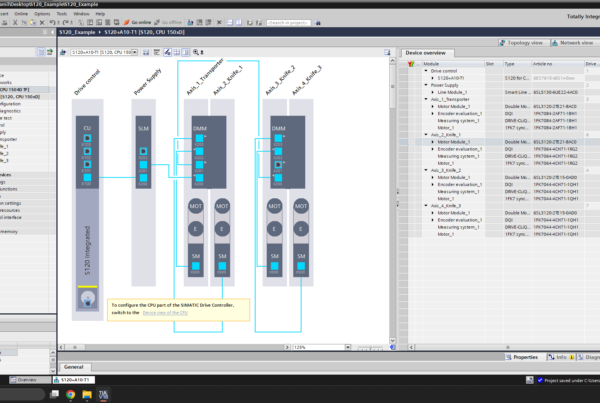
At ControlByte, every device — whether a VFD, PLC controller, or power supply — is labeled with a sticker showing its function, location, and device designation. In Mark Online, select the continuous vinyl self-adhesive labels (PLTC) with a height of 9 mm. Check the designation of the given device on your schematic (e.g., KF1 U1 for a PLC controller) and enter it in the tool. These stickers are ideal for labeling devices mounted on DIN rails.
Nameplate
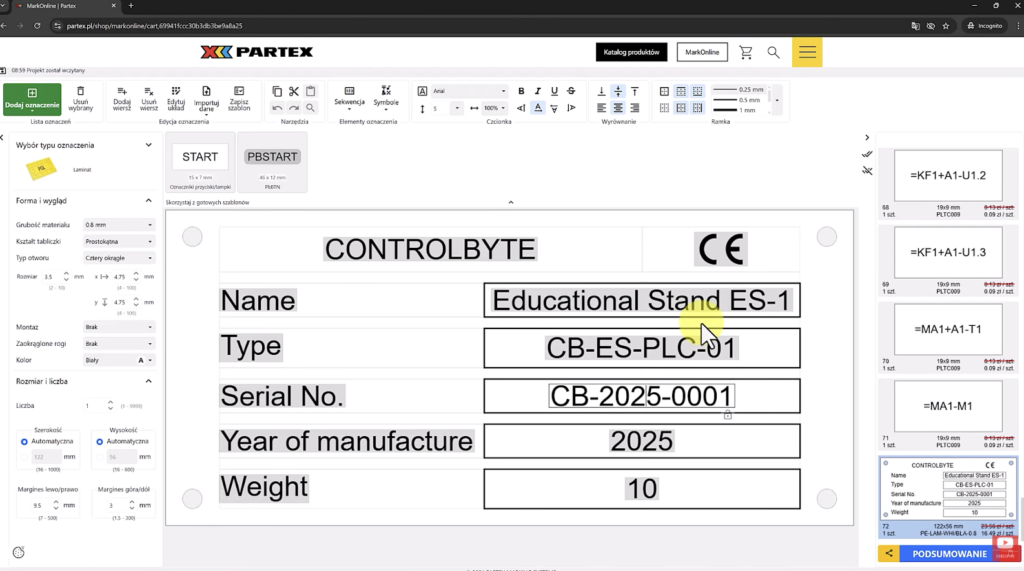
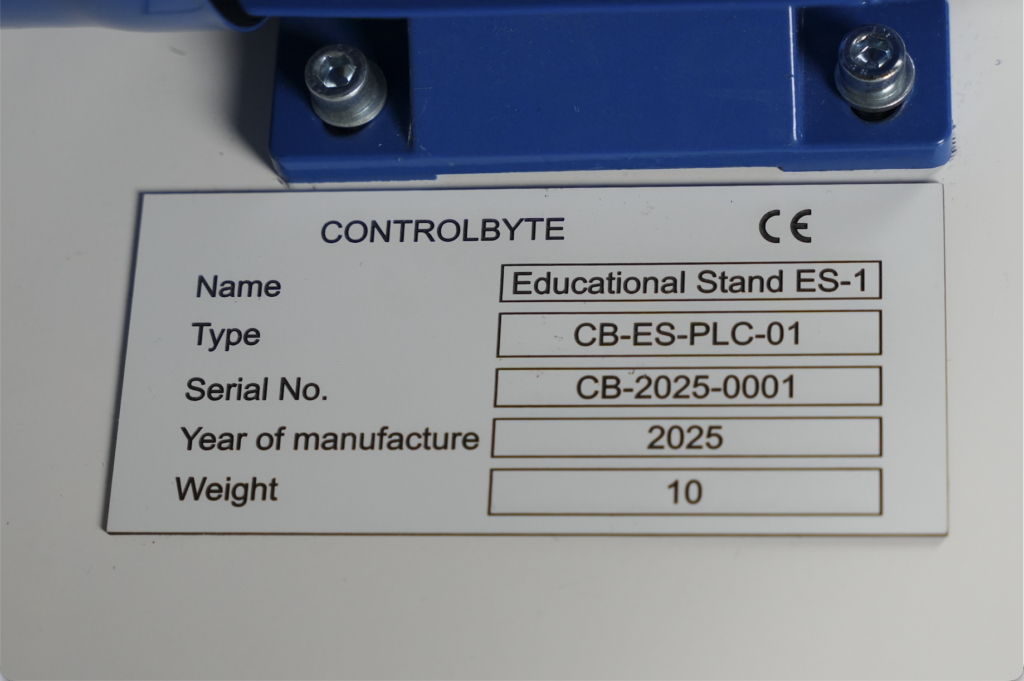
The finishing touch of the project is the nameplate. In Mark Online, select the “manufacturer nameplate” template and fill in the details: company name, device type, serial number, year of production, weight, and CE marking. The completed laminated nameplate looks professional and is resistant to the conditions inside control panels.
Ordering Your Control Panel Labeling Kit
After designing all your labels in Mark Online, proceed to the summary. The tool displays a list of all designed items along with their prices. In our case, a complete set of markers for the educational training station cost approximately 200 PLN (around €45). Click “add to cart,” place the order, and the markers arrive via courier or parcel locker.
An important feature is that you can share your projects — just copy the link and send it to a colleague or electrician on your team.
Control Panel Labeling — Practical Installation Tips
Once the markers arrive, installation is straightforward. Wire markers are threaded onto the cable before crimping the ferrule — they pass through easily, even over already crimped ferrules. Self-adhesive device stickers simply peel off the backing tape and stick to the appropriate spot on the device housing. Button and indicator light labels also have self-adhesive backing, making quick installation easy. The nameplate is cut out and glued onto the machine, control panel, or device.
Control Panel Labeling — Summary
Professional control panel labeling doesn’t require owning a printer or expensive equipment. Thanks to the Mark Online tool from Partex, the entire process — from design to finished markers — can be completed online. For more practical guides, explore our automation blog. The tool is intuitive, supports data import, and allows you to share projects with your team.
If you need labels on a regular basis, Partex also offers printers that you can equip your design workstation or electrician’s bench with, allowing you to print markers independently.