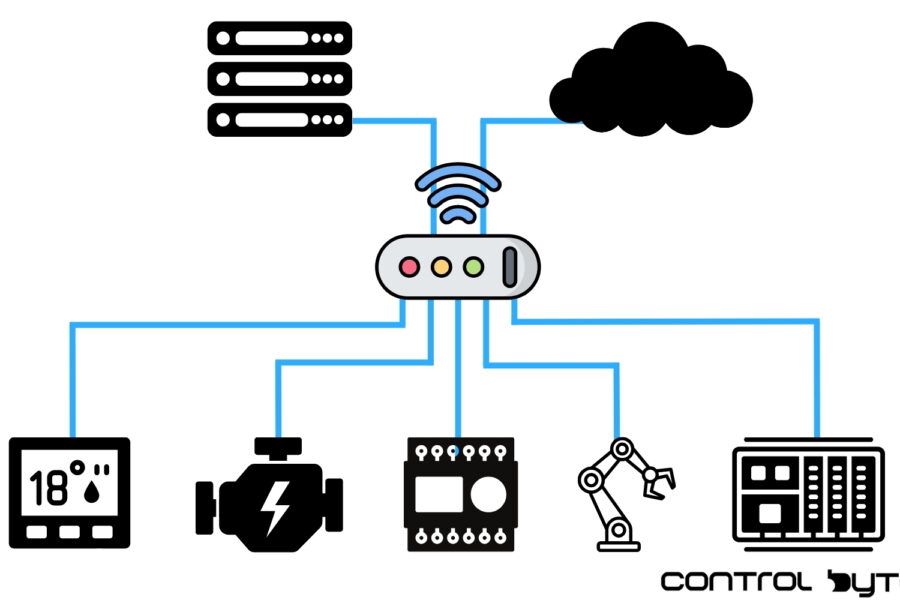
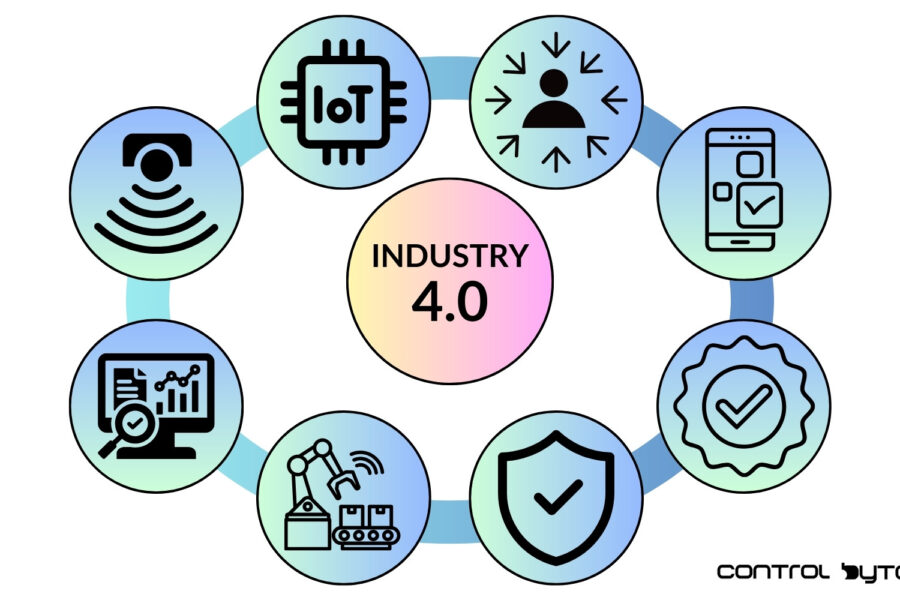
What Will You Find in This Article?
- Integration of Smart Home Devices
- Web Panel for Installation Management
- Mobile Application for Your Smartphone
- Communication with PLC Controllers
- CODESYS – A Tool for Creating Control Systems
- Configuring Modbus in Home Assistant (NodeRed)
- Data Exchange Between CODESYS and Home Assistant
PLC Controller in Your Automation Setup
How can you automate:
- Your home?
- An office building?
- The operation of renewable energy installations?
Choose the appropriate PLC controller: WAGO, Beckhoff, or another. Then launch the CODESYS environment and start programming. In addition to the user program for the PLC, you will also need to create a visualization. But what if you also need a mobile app?
PLC controllers provide visualization options, typically for HMI panels or a basic web visualization for servicing. Today, web panels (Dashboards) and mobile apps are the standard. Can you do it yourself? Yes! I have a solution for you.
I have reviewed hundreds of solutions in this area. What caught my attention is Home Assistant! It has countless integrations and easily connects to PLCs. You retrieve relevant data and build an elegant panel in your web browser, which you can also display on your smartphone.
What You Can Achieve with Home Assistant:
- Data visualization on a web panel
- A mobile app based on the web panel
- Basic automation in NodeRed
- Scripts in Python and YAML
- Integration with popular services like Google and Apple
- Communication with PLC controllers
- And much more!
Home Assistant – A Home Automation System
Home Assistant is a popular open-source home automation system that allows device control through various communication protocols. One of these protocols is Modbus, a widely used standard for industrial communication. On the other hand, CODESYS is a development tool for creating control systems that support many protocols, including Modbus.
Home Assistant supports a wide range of devices and platforms, allowing for the integration and control of various systems in your home. Whether it’s smart bulbs, thermostats, sensors, cameras, or multimedia devices, Home Assistant offers support for many popular protocols and standards, like Zigbee, Z-Wave, Wi-Fi, Bluetooth, and MQTT. It also allows for creating advanced scenarios and automations. You can set rules and conditions that automatically trigger specific actions based on factors such as time, device status, or motion detection. For example, you can configure automatic lighting adjustment based on external light intensity or play music when you return home.
Where Can You Install Home Assistant?
Home Assistant can be installed on various platforms, providing flexibility and choice for users. Here are some popular ways to install Home Assistant:
- PC: You can install Home Assistant on a computer running an operating system like Windows, macOS, or Linux. An official version of Home Assistant can be installed on a virtual machine or as a standalone installation.
- Raspberry Pi: Raspberry Pi is a popular platform for installing Home Assistant. There’s an official version for Raspberry Pi that is easy to install and configure. This requires purchasing a suitable Raspberry Pi model, a microSD card, and installing Home Assistant on the memory card.
- Docker: Home Assistant can be run in a Docker container, providing isolation and ease of management. Docker is a popular application virtualization tool that enables easy installation and updates of Home Assistant.
- NAS (Network-Attached Storage): If you have a NAS, it might be possible to install Home Assistant on it. Some popular NAS models, like Synology or QNAP, offer dedicated app packages for Home Assistant installation.
- Other Platforms: Home Assistant can also be installed on other platforms like Odroid, Intel NUC, and even Android devices.

Example Home Assistant Control Panel
Home Assistant provides several tools for creating a panel, such as Lovelace UI, Configuration Panel, and Lovelace YAML. Lovelace UI is the recommended tool and offers an interactive editor for easily creating and customizing the panel.
After choosing the panel-building tool, you can add widgets to display information and control devices. For example, you can add a lighting widget that shows the status and allows turning the lights on or off. You can also add widgets for sensors, thermostats, cameras, etc. Widgets can be grouped into different sections or cards to organize the user interface. For instance, you can create a “Living Room” card and add lighting, thermostat, and media widgets to have all these features in one place. You can arrange widgets in different layouts, such as columns, rows, or grids, to customize the panel’s appearance.
Home Assistant offers numerous customization options for the panel’s look. You can change colors, fonts, backgrounds, and other visual elements to match your preferences. Icons, graphic backgrounds, and other elements can also be added to give the panel a unique character.
The Home Assistant panel can be used to trigger automations and scenarios. You can add buttons or sliders that initiate specific actions, such as enabling night mode, starting the “Home Cinema” scene, or opening/closing blinds.
Home Assistant allows access to the panel both locally and remotely. You can configure remote access to control your home from anywhere using the mobile app or web interface. Also, make sure the panel is responsive, meaning it looks good and works on various devices like phones, tablets, or computers.

CODESYS – Software for PLC Programming
CODESYS is a comprehensive and popular development environment for programming controllers and automation systems. It’s a full software package for creating, testing, and managing automation applications in industries like manufacturing, construction, or infrastructure.
The primary goal of CODESYS is to simplify the programming of PLCs (Programmable Logic Controllers), used in industrial settings to control and monitor devices and processes. CODESYS provides developers with tools for creating PLC applications, including a code editor, debugger, simulator, and visualization tools.
One of CODESYS’ main strengths is its flexibility. It supports a wide range of communication protocols, such as Modbus, EtherCAT, and OPC UA, enabling integration with various devices and systems. Additionally, CODESYS is hardware-independent and runs on multiple platforms, including different PLC controllers, PCs, operator panels, and embedded devices.
In CODESYS, we need to configure the appropriate Modbus communication protocols. Depending on the CODESYS version, this process may vary, but generally, you need to add the appropriate Modbus library to your project and configure communication parameters like the Modbus device’s IP address, communication port, register addresses, etc. Once Modbus communication is configured in CODESYS, you can read and write data from connected devices.
Connecting CODESYS – Home Assistant
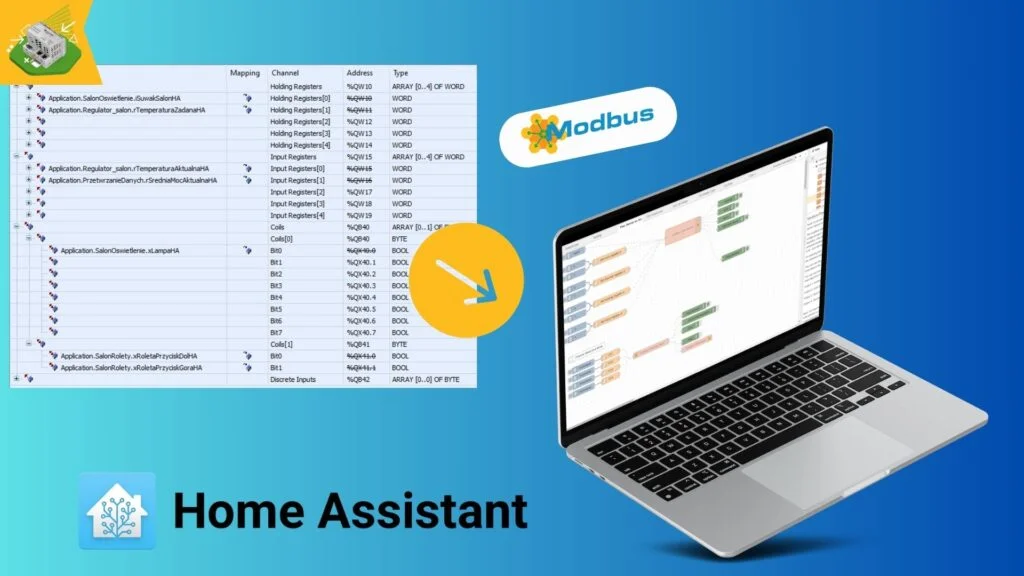
To exchange data between CODESYS and Home Assistant, we will use Modbus register addresses. In CODESYS, we will write the data that we want to make available to Home Assistant into the appropriate registers. Then, in Home Assistant, we will configure entities that will read and update these registers. This can be done using YAML configuration in the Home Assistant configuration file.
This type of connection is implemented in a manually installed, additional programming environment, namely Node-RED. Node-RED will serve as a bridge between CODESYS and Home Assistant. You will need to configure a Modbus server in Node-RED to communicate with CODESYS. Next, you will need to create flows in Node-RED that read and write data from the Modbus registers previously configured in CODESYS. Node-RED must be configured to communicate with Home Assistant, which can be achieved using the “Home Assistant Websocket” node. You will also need to create flows that read and write data to Home Assistant. We will use the “call service” node in Node-RED to send data to Home Assistant.

In the case of CODESYS, the built-in Modbus configurator is a tool that allows PLC programmers to easily set up Modbus parameters, such as transmission speed, data format, register types, device addresses, etc., without the need for additional external tools.
This type of connection is achieved in a manually installed programming environment like Node-RED. Node-RED will act as a bridge between CODESYS and Home Assistant. You will need to configure a Modbus server in Node-RED to communicate with CODESYS. Then you’ll create flows in Node-RED that read and write data from the Modbus registers configured in CODESYS. Node-RED must also be configured to communicate with Home Assistant, which can be done using the “Home Assistant Websocket” node. You’ll also need to create flows that read and write data to Home Assistant using the “call service” node in Node-RED.
Integrating CODESYS with Home Assistant
Using the Modbus protocol opens up many possibilities for advanced home control. We can use CODESYS functions to create complex control and automation algorithms while leveraging the Home Assistant interface and functionalities for convenient home automation management.
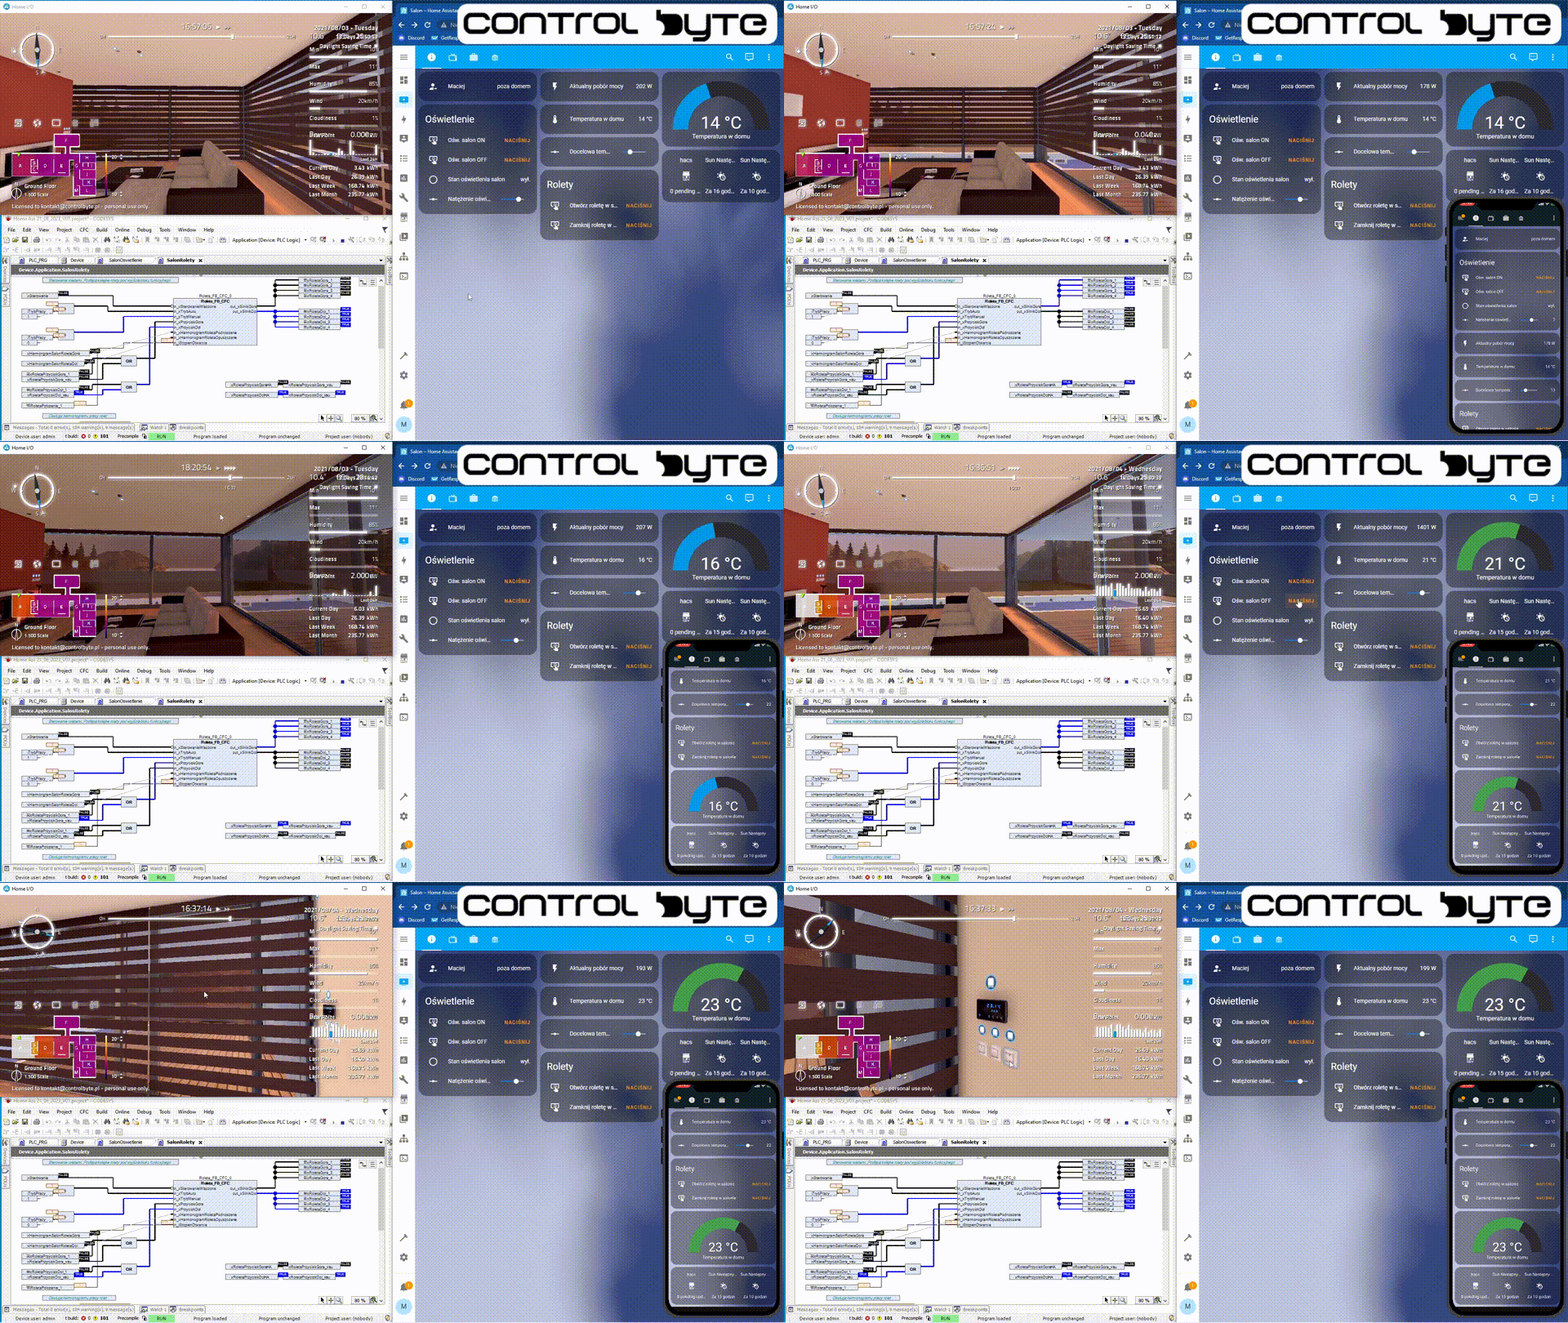
On the graphic below, we show the visualization of a virtual home, simulated using Home I/O software, a program written in CODESYS for automating processes in our home, and a control panel accessible from both a web browser and a mobile application.
Unlimited Possibilities with PLC (CODESYS) and Home Assistant
Automation spans many industries. Whether you work with smart buildings, industrial machinery, or renewable energy installations, you’ll need a reliable PLC controller and meet your clients’ or boss’s requirements. Market demands are changing rapidly. If you want to stay up-to-date, consider using the latest technologies in your automation projects.
Below, you’ll find a list of practical applications for the knowledge shared in this article.
Building Automation (Smart Home):
- PLC Controller on Codesys:
- Control program in ST language
- Modbus or OPC UA communication
- Data collection from sensors
- Control over lighting, temperature, alarms, etc.
- Management of renewable energy installations
- Home Assistant:
- Data visualization on a web panel (Dashboard)
- Mobile app for Android and Apple
- Multi-protocol communication
Renewable Energy Installations:
- Home Assistant:
- Mobile app for renewable energy systems
- Integration of inverters
- Energy storage monitoring
- Sunlight sensors
- Energy consumption forecasting
- PLC Controller on Codesys:
- Switching between on-grid and off-grid installations
- Reading data from inverters
- Programming in ST language
Create a Mobile App Together with Us
In summary, integrating CODESYS with Home Assistant using the Modbus protocol allows for advanced control system integration with a flexible home automation system. This enables the creation of intelligent solutions that combine the power of CODESYS programming with
Thank you for reading! If you’re interested in learning more, explore our courses for in-depth training: Control Byte Courses.

